Showing posts with label Rice Varieties. Show all posts

Tuesday, March 19, 2024

 MORINGA LEAVES!!!!!

It contains no harmful cholesterol, is loaded with several Vitamins, Calcium, Potassium, Iron, Magnesium and Phosphorous...

It protects and nourishes skin and hair....

Treats Edema...

Protects Liver...

Prevents and treats Cancer...

Handles stomach upset in a beautiful way...

Fights food borne bacterial infections...

Prevents rheumatoid arthritis...

Is great in treating the mood and nervous system disorders...

Protects the Cardiovascular system...

Treats diabetes...

Treats asthma...

Prevents kidney stones...

Reduces High blood pressure...

Improves eye health

Treats anemia and sickle cell disease...

I have already posted various recipes with Moringa leaves...

Moringa Rava  dosa

Drumstick leaves dosa

Drumstick leaves powder

Moringa adais

Moringa koottu

Moringa curry

This Khichdi recipe is protein loaded too, with the goodness of Tur and Moong dhals. It turned out to be very tasty too.


Ingredients

Moringa leaves - 2 - 3 cups
Rice - 1/2 cup
Moong dhal - 1/4 cup
Tur dhal - 1/4 cup
Water - 4 cups( it’s better to add 3 while cooking, then add according to the consistency)
Sambar powder - 1 tsp
Small onions - 1 cup
Garlic - 4 - 5 pods
Tomatoes - 3, chopped fine
Salt to taste

To season
Cooking oil - 2 tsps
Ghee - 2 tsps
Hing powder - 1/4 tsp
Turmeric powder - 1/4 tsp
Mustard seeds - 1 tsp
Jeera - 1 tsp
Coarsely powdered pepper
Methi seeds - 1 tsp
Broken red chillies - 2 to 3

Recipe Cuisine: Indian; Category: Lunch/Dinner
Prep time: 20 - 25 mts; Cooking time: 20 mts

Serves 2 - 3

Take Rice, Tur and Moong dhals, wash well


Soak in hot water for 30 to 45 minutes


Drumstick leaves cleaned, washed and drained


Take a pressure cooker, heat with oil and ghee, season hing and turmeric powders, mustard, jeera, methi and pepper powder


After the mustard seeds splutter, add the red chillies too, so that they won't turn blackish


Now add the onions and garlic pods, they can be chopped too….. flames on the lowest, saute well


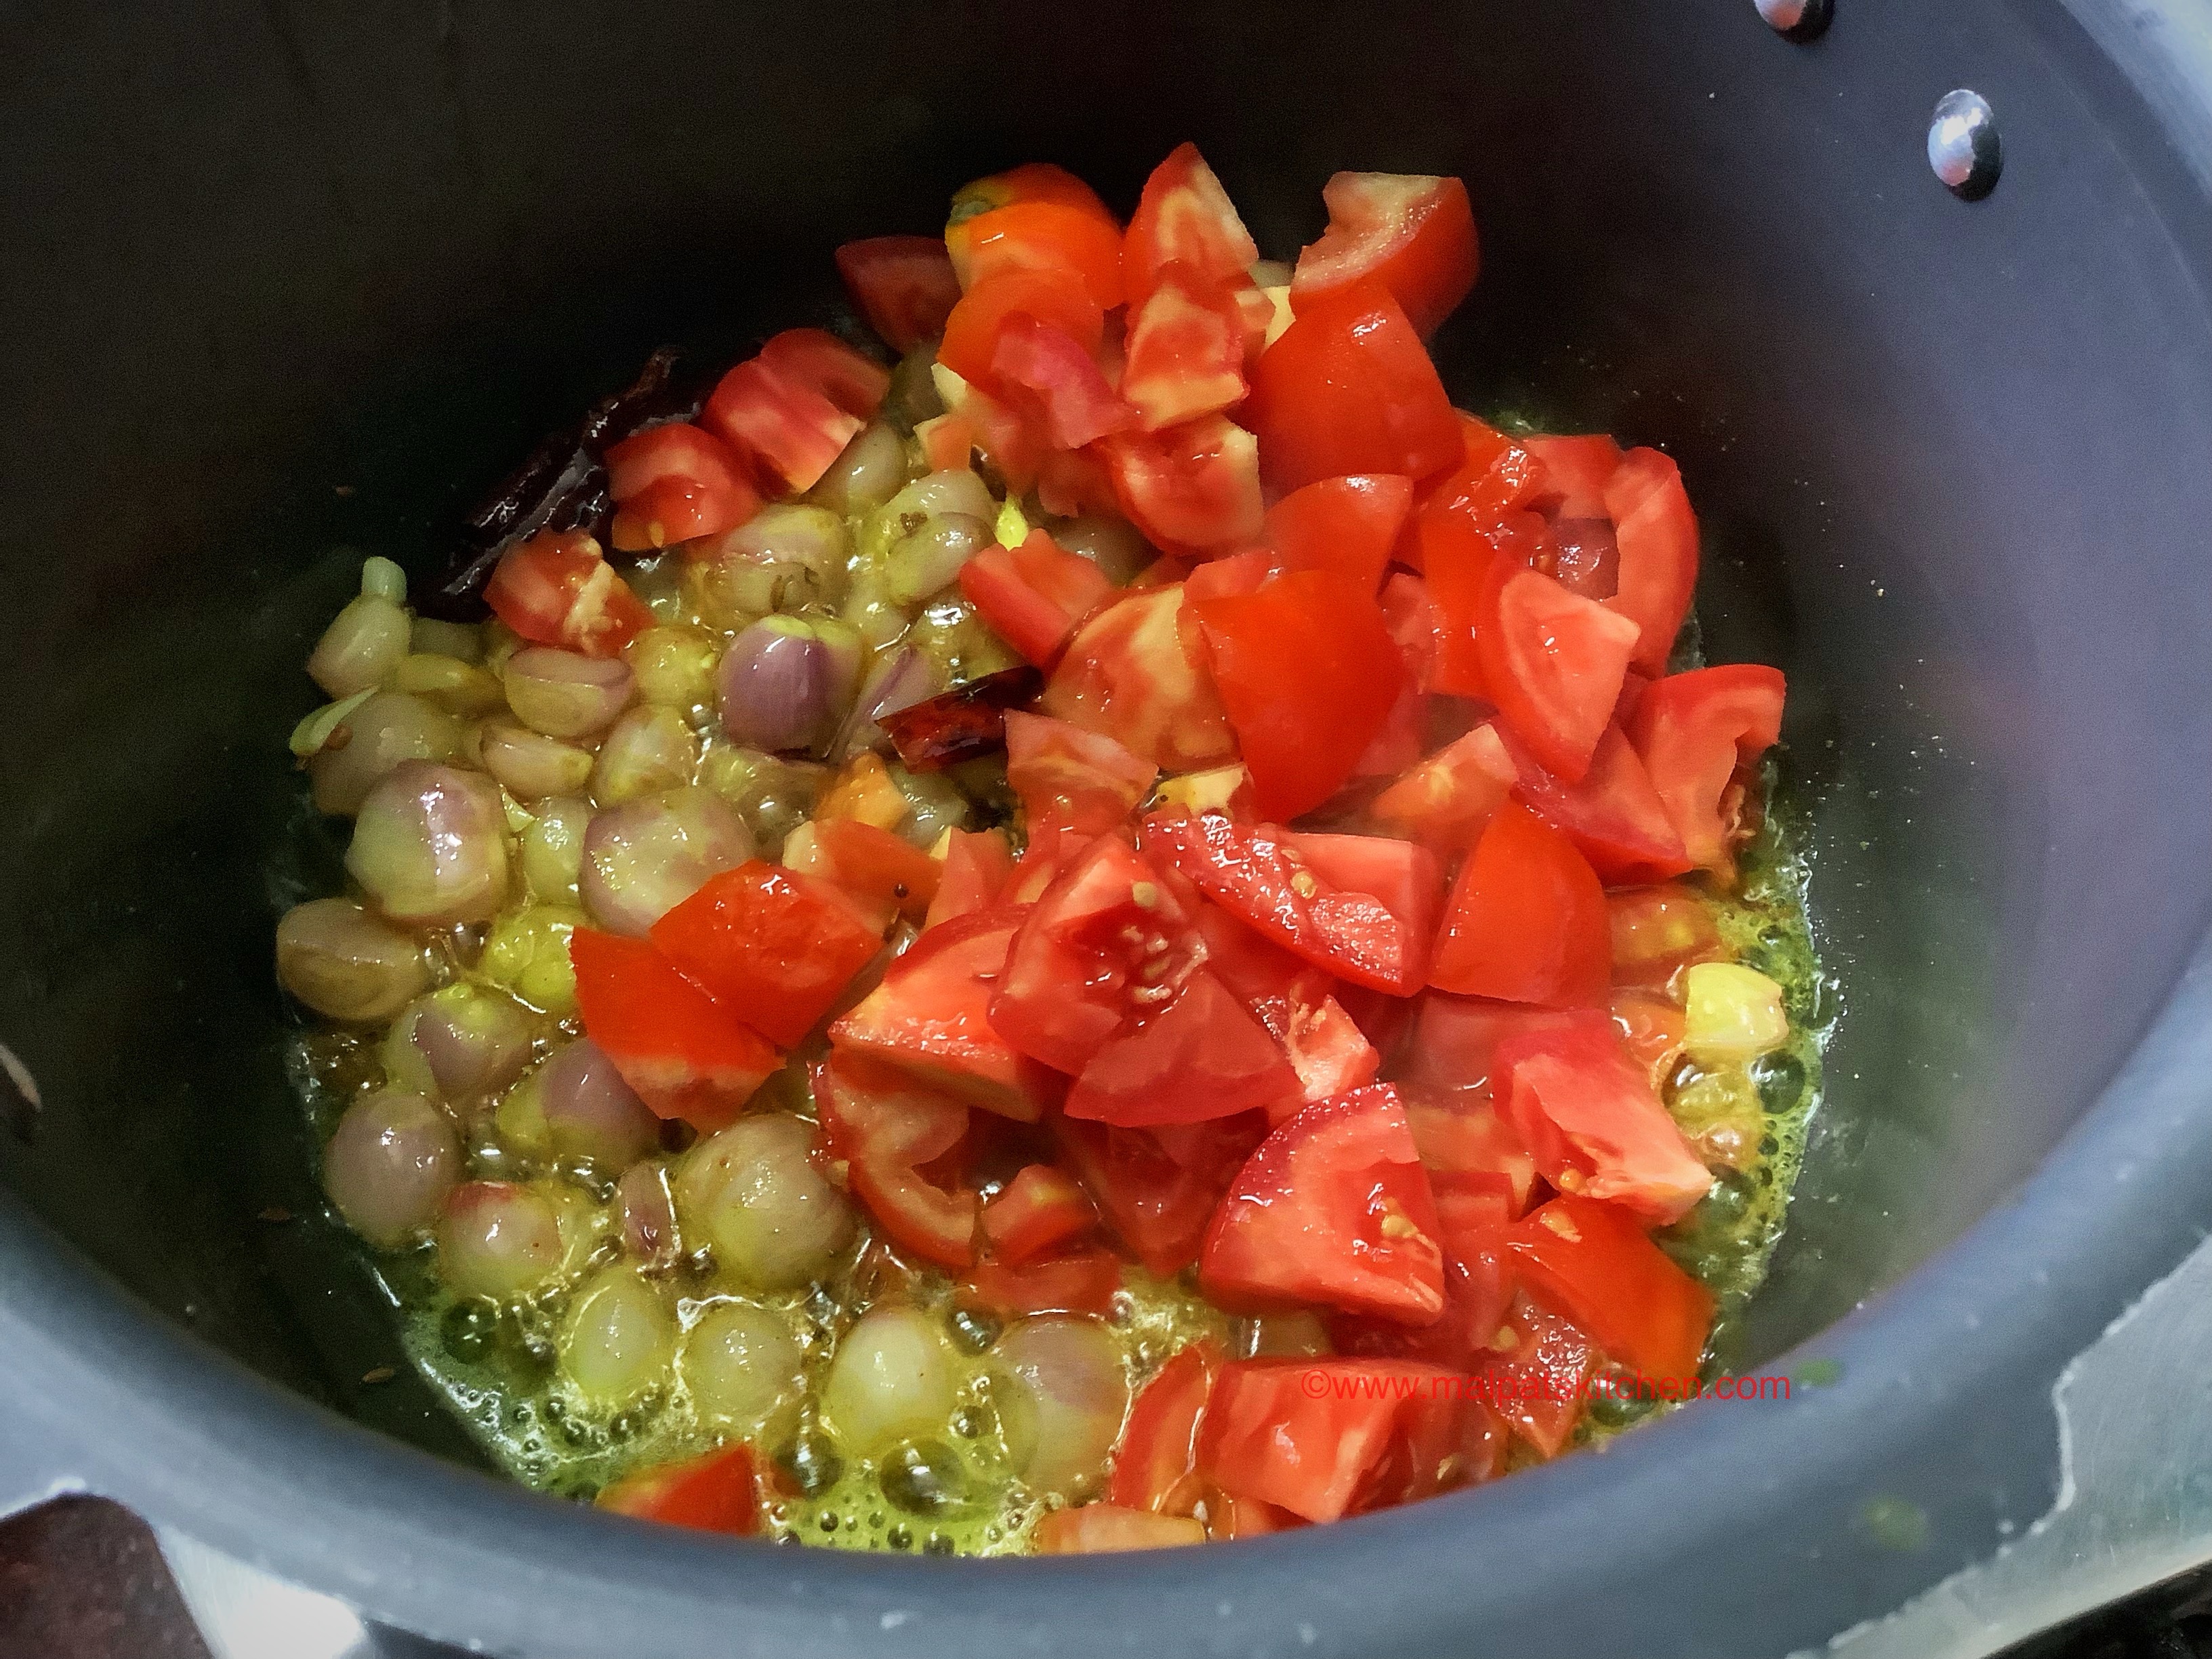
Now add the chopped tomatoes, continue sauteeing


Add sambar powder


Add the moringa leaves too and …..


Now add the washed and soaked rice and dhals


Salt to taste


Add 4 cups of hot water, cover the lid, and after 1 whistle, keep the flames on the lowest and leave for 8 - 10 minutes. Let the pressure release by itself,.


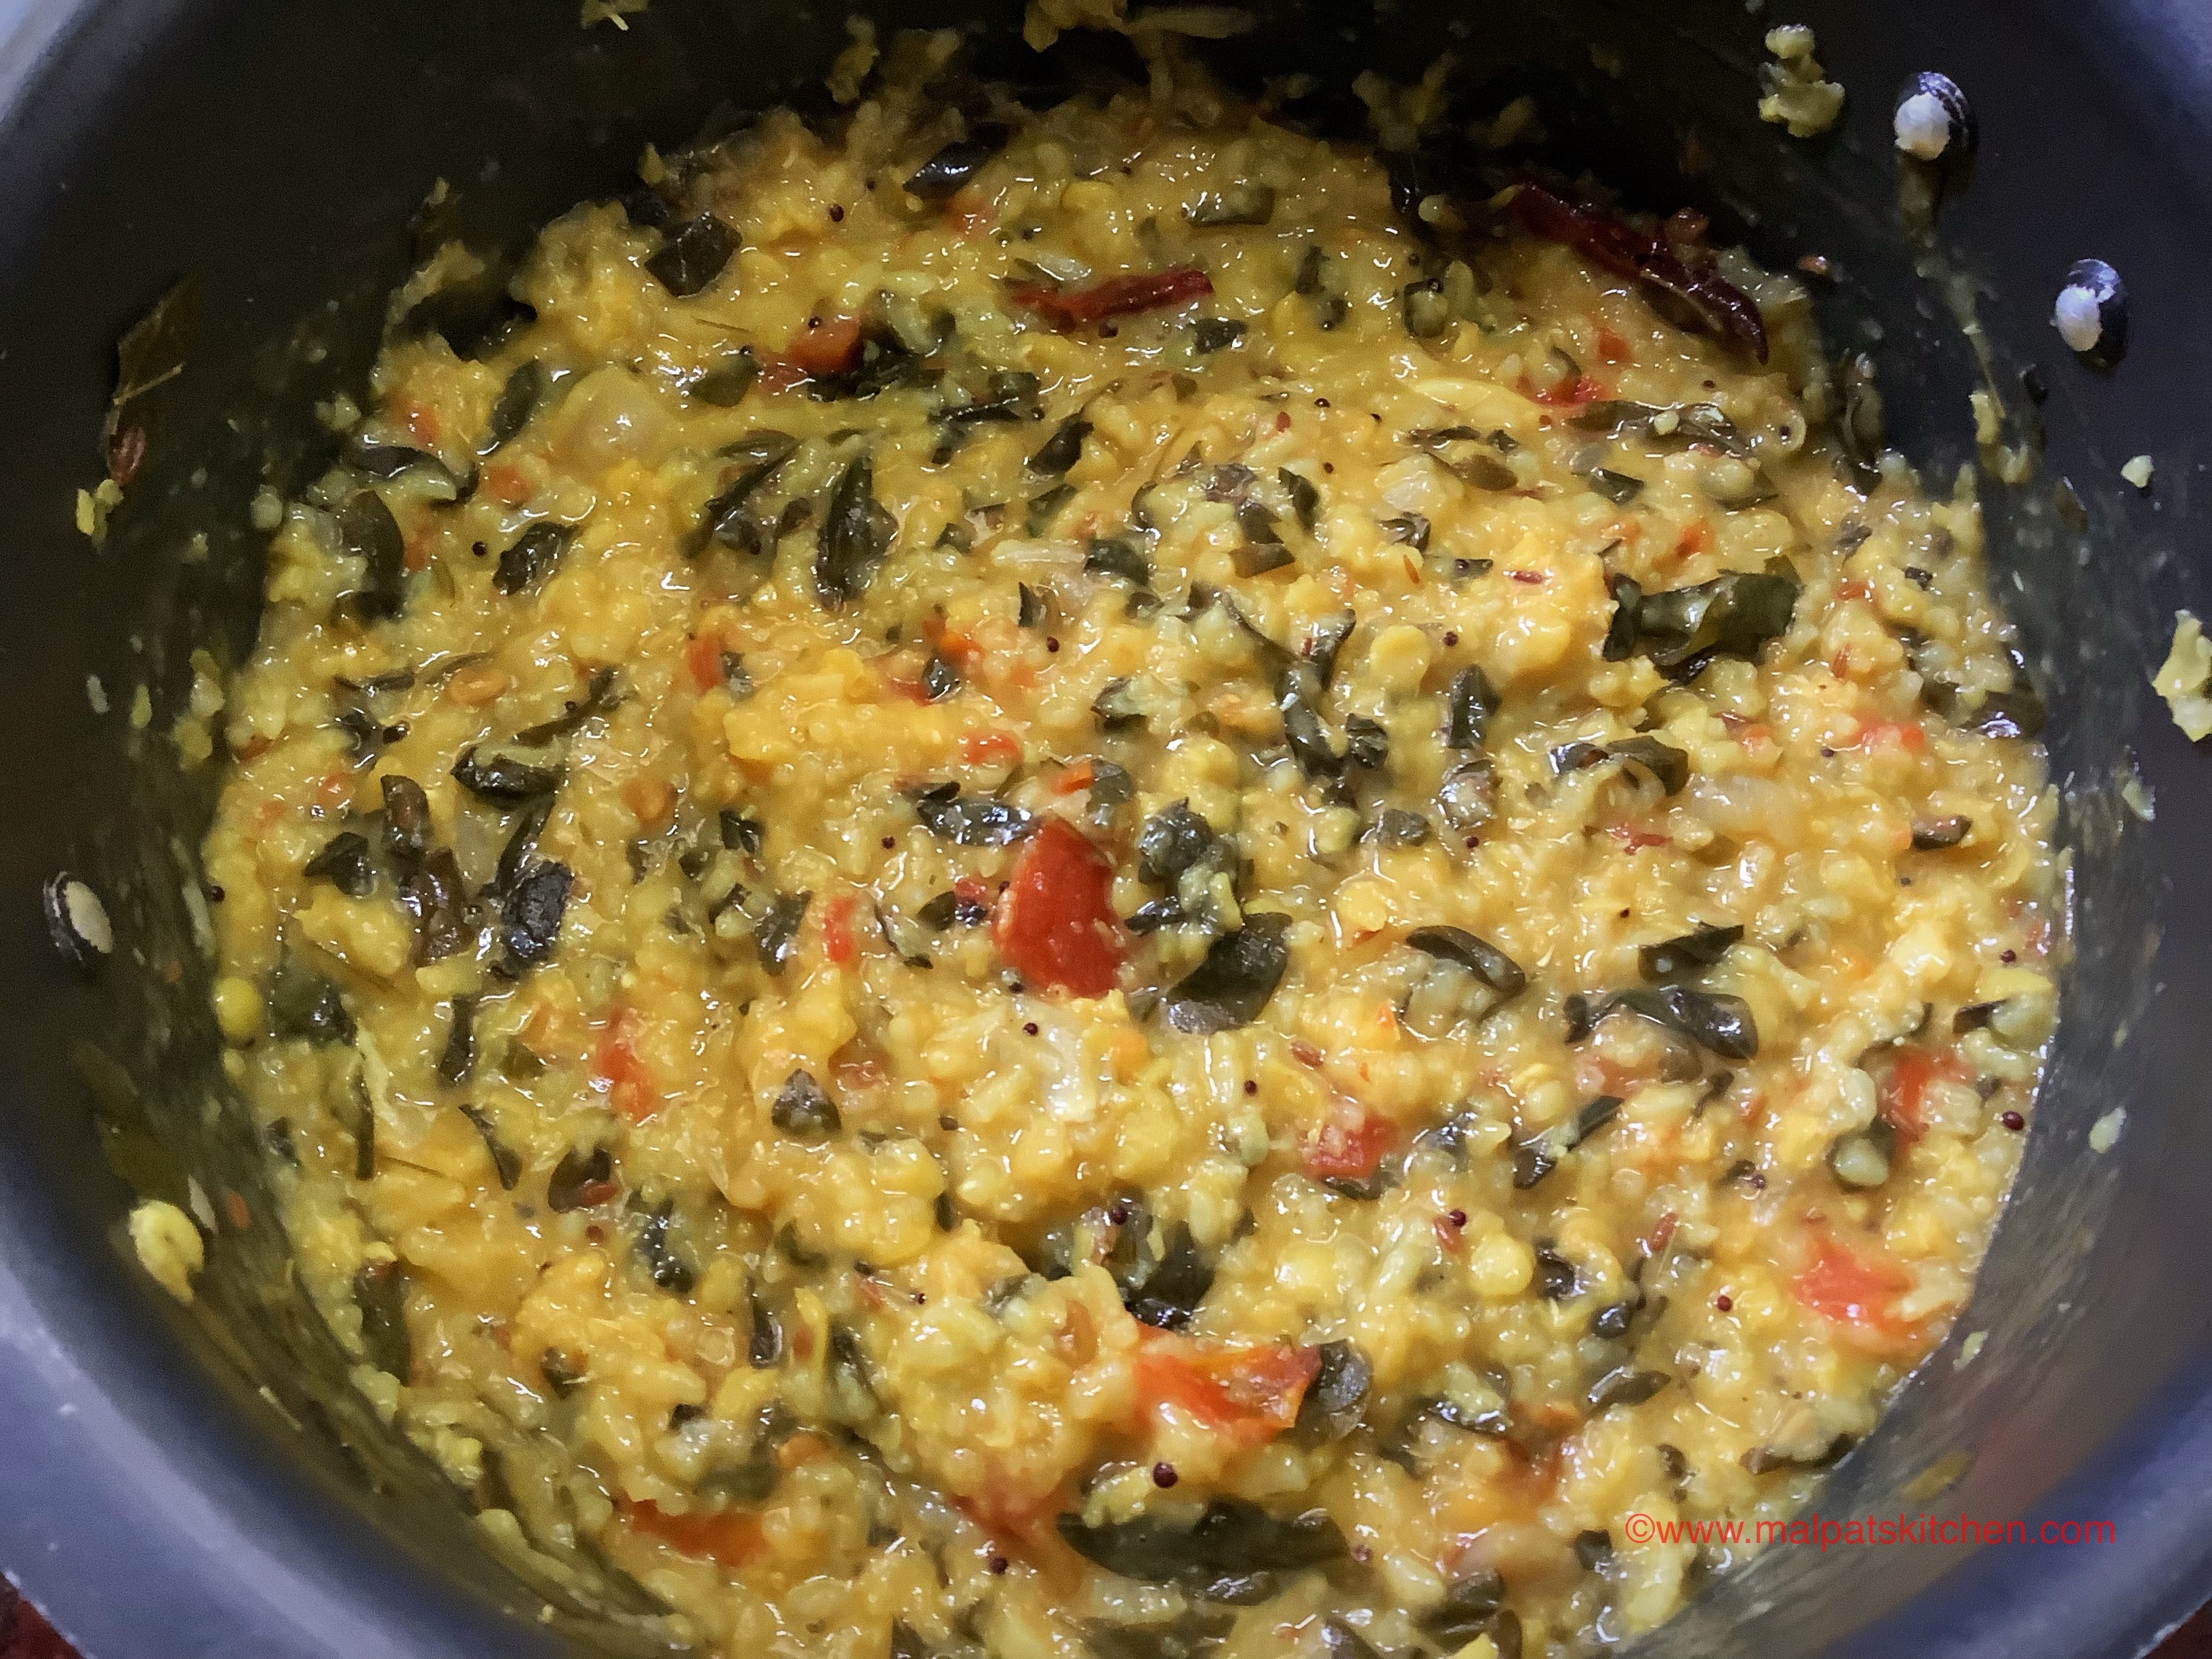
This is how it looks after opening, the whole house wafting with the mixed flavors!!


If need be, pour 1/2 cup hot water (I didn't have to) and mash well. Like Venpongal, this too proved to be  a real delicacy, so soothing and comforting for the throat!


Serve this power-packed Khichdi with chips, papad, raita or khadi!!! 


This post first appeared in www.malpatskitchen.com


2:00:00 AM Mala Thiagu

 MORINGA LEAVES!!!!!

It contains no harmful cholesterol, is loaded with several Vitamins, Calcium, Potassium, Iron, Magnesium and Phosphorous...

It protects and nourishes skin and hair....

Treats Edema...

Protects Liver...

Prevents and treats Cancer...

Handles stomach upset in a beautiful way...

Fights food borne bacterial infections...

Prevents rheumatoid arthritis...

Is great in treating the mood and nervous system disorders...

Protects the Cardiovascular system...

Treats diabetes...

Treats asthma...

Prevents kidney stones...

Reduces High blood pressure...

Improves eye health

Treats anemia and sickle cell disease...

I have already posted various recipes with Moringa leaves...

Moringa Rava  dosa

Drumstick leaves dosa

Drumstick leaves powder

Moringa adais

Moringa koottu

Moringa curry

This Khichdi recipe is protein loaded too, with the goodness of Tur and Moong dhals. It turned out to be very tasty too.


Ingredients

Moringa leaves - 2 - 3 cups
Rice - 1/2 cup
Moong dhal - 1/4 cup
Tur dhal - 1/4 cup
Water - 4 cups( it’s better to add 3 while cooking, then add according to the consistency)
Sambar powder - 1 tsp
Small onions - 1 cup
Garlic - 4 - 5 pods
Tomatoes - 3, chopped fine
Salt to taste

To season
Cooking oil - 2 tsps
Ghee - 2 tsps
Hing powder - 1/4 tsp
Turmeric powder - 1/4 tsp
Mustard seeds - 1 tsp
Jeera - 1 tsp
Coarsely powdered pepper
Methi seeds - 1 tsp
Broken red chillies - 2 to 3

Recipe Cuisine: Indian; Category: Lunch/Dinner
Prep time: 20 - 25 mts; Cooking time: 20 mts

Serves 2 - 3

Take Rice, Tur and Moong dhals, wash well


Soak in hot water for 30 to 45 minutes


Drumstick leaves cleaned, washed and drained


Take a pressure cooker, heat with oil and ghee, season hing and turmeric powders, mustard, jeera, methi and pepper powder


After the mustard seeds splutter, add the red chillies too, so that they won't turn blackish


Now add the onions and garlic pods, they can be chopped too….. flames on the lowest, saute well


Now add the chopped tomatoes, continue sauteeing


Add sambar powder


Add the moringa leaves too and …..


Now add the washed and soaked rice and dhals


Salt to taste


Add 4 cups of hot water, cover the lid, and after 1 whistle, keep the flames on the lowest and leave for 8 - 10 minutes. Let the pressure release by itself,.


This is how it looks after opening, the whole house wafting with the mixed flavors!!


If need be, pour 1/2 cup hot water (I didn't have to) and mash well. Like Venpongal, this too proved to be  a real delicacy, so soothing and comforting for the throat!


Serve this power-packed Khichdi with chips, papad, raita or khadi!!! 


This post first appeared in www.malpatskitchen.com


Tuesday, July 25, 2023

 Narthangai/Narthampazham......


Belongs to Citrus Family, Like the Lemons....but quite expensive!!! Probably because, it's a store house of several nutrients and health benefits!!! Ideal to be a neivedhyam too!
We all know, dry, salted narthangai is being used in most of the families during nausea, vomitting and fever.
It is a good source of Vitamin C, boosts Immunity.
Promotes digestion, Good for Gut Health.
Prevents Cancer, Lowers Blood pressure

Ingredients
Narthangai - 1, sliced and juice extracted
Rice - 1 cup, cooked and let to cool down
Salt to taste

To season
Cooking oil - 2-3 tsps
Turmeric powder - 1/4 tsp
Hing powder - 1/4 tsp
Mustard seeds - 1 tsp
Split urad dhal - 1 tsp
Channa dhal - 1 tsp
Chopped green chillies - 2-3
Curry leaves - a few
Raw peanuts - 1/8 cup 

Recipe cuisine: South Indian; Category: Lunch
Prep time: 10 mts; Cooking time : 30 - 40 mts

Serves 3


Juice extracted from Narthampazham


Cooked rice cooling down


Heat a pan, add oil, add hing and turmeric powders, mustard seeds, urad and channa dhal


Keep on slow fire, and before the dhals turn golden, add peanuts too, all these will get perfect roasting


Now add curry leaves and green chillies. Red chillies are optional, but green chillies go well with the aroma and taste of the Citrons


Add the seasonings to the rice


Salt to taste


Add the Narthampazha juice as per taste. For 1 cup rice, I had to add 3 tbsps juice, it isn't so sour like lemon juice, very subtle in taste


Mix well


With some Sundal and some Vadams, isn't it a perfect meal!??


This post first appeared in www.malpatskitchen.com


5:00:00 PM Mala Thiagu

 Narthangai/Narthampazham......


Belongs to Citrus Family, Like the Lemons....but quite expensive!!! Probably because, it's a store house of several nutrients and health benefits!!! Ideal to be a neivedhyam too!
We all know, dry, salted narthangai is being used in most of the families during nausea, vomitting and fever.
It is a good source of Vitamin C, boosts Immunity.
Promotes digestion, Good for Gut Health.
Prevents Cancer, Lowers Blood pressure

Ingredients
Narthangai - 1, sliced and juice extracted
Rice - 1 cup, cooked and let to cool down
Salt to taste

To season
Cooking oil - 2-3 tsps
Turmeric powder - 1/4 tsp
Hing powder - 1/4 tsp
Mustard seeds - 1 tsp
Split urad dhal - 1 tsp
Channa dhal - 1 tsp
Chopped green chillies - 2-3
Curry leaves - a few
Raw peanuts - 1/8 cup 

Recipe cuisine: South Indian; Category: Lunch
Prep time: 10 mts; Cooking time : 30 - 40 mts

Serves 3


Juice extracted from Narthampazham


Cooked rice cooling down


Heat a pan, add oil, add hing and turmeric powders, mustard seeds, urad and channa dhal


Keep on slow fire, and before the dhals turn golden, add peanuts too, all these will get perfect roasting


Now add curry leaves and green chillies. Red chillies are optional, but green chillies go well with the aroma and taste of the Citrons


Add the seasonings to the rice


Salt to taste


Add the Narthampazha juice as per taste. For 1 cup rice, I had to add 3 tbsps juice, it isn't so sour like lemon juice, very subtle in taste


Mix well


With some Sundal and some Vadams, isn't it a perfect meal!??


This post first appeared in www.malpatskitchen.com


Tuesday, November 30, 2021


This is a Saatvik, No Onion-No Garlic rice, but loaded with flavors, so good for health!!!

And the flavor of  MINT is not diminished by any other strong spices or flavors....

This can be made as a Neivedhyam too...

Please check my Other Rice Varieties


Ingredients

Fresh mint leaves, cleaned and washed - 1 bunch ( roughly 2 handfuls)
Red bell pepper, medium sized - 1, chopped
Yellow bell pepper - medium sized - 1, chopped
Ginger - a small piece
Raw or Sona Masuri rice - 1 cup, cooked
Green chillies - 4
Lemon juice - 1 tsp
Salt to taste

To season
Cooking oil - 2 tsps
Ghee - 2 tsps
Jeera/Cumin seeds - 1 tsp

Recipe cuisine: Indian; Category: Lunch/Dinner
Prep time: 10 mts; Cooking time: 15 mts

Serves 3

Mint leaves and Bell peppers


Mint, ginger and green chillies loaded into the blender jar


and ground to a smooth paste


Rice cooked and spread to cool.


Pan heated with oil and ghee, Cumin seeds seasoned


Then the bell peppers added and sauteed


after bell peppers get cooked a bit, add the ground paste and salt to taste


Saute well on slow fire, till the mixture becomes dry, all the water content in the mint mixture gets evaporated


Add it to the rice


Lemon juice added, and mixed gently


Serve this yummy rice with raita of your choice. Check my Raita varieties


This post first appeared in www.malpatskitchen.com

* If it is not for any neivedhyam, you can add onions too. 
* Also 2 pods of garlic can be ground along.
* Can be made in Pressure pan too, sautéing everything, the ground masala, onion, bell peppers etc, then adding the soaked and drained rice, can be cooked for 2 whistles.
* Basmati rice can be used too.
* Also, some chopped paneer pieces add to the taste


9:00:00 PM Mala Thiagu


This is a Saatvik, No Onion-No Garlic rice, but loaded with flavors, so good for health!!!

And the flavor of  MINT is not diminished by any other strong spices or flavors....

This can be made as a Neivedhyam too...

Please check my Other Rice Varieties


Ingredients

Fresh mint leaves, cleaned and washed - 1 bunch ( roughly 2 handfuls)
Red bell pepper, medium sized - 1, chopped
Yellow bell pepper - medium sized - 1, chopped
Ginger - a small piece
Raw or Sona Masuri rice - 1 cup, cooked
Green chillies - 4
Lemon juice - 1 tsp
Salt to taste

To season
Cooking oil - 2 tsps
Ghee - 2 tsps
Jeera/Cumin seeds - 1 tsp

Recipe cuisine: Indian; Category: Lunch/Dinner
Prep time: 10 mts; Cooking time: 15 mts

Serves 3

Mint leaves and Bell peppers


Mint, ginger and green chillies loaded into the blender jar


and ground to a smooth paste


Rice cooked and spread to cool.


Pan heated with oil and ghee, Cumin seeds seasoned


Then the bell peppers added and sauteed


after bell peppers get cooked a bit, add the ground paste and salt to taste


Saute well on slow fire, till the mixture becomes dry, all the water content in the mint mixture gets evaporated


Add it to the rice


Lemon juice added, and mixed gently


Serve this yummy rice with raita of your choice. Check my Raita varieties


This post first appeared in www.malpatskitchen.com

* If it is not for any neivedhyam, you can add onions too. 
* Also 2 pods of garlic can be ground along.
* Can be made in Pressure pan too, sautéing everything, the ground masala, onion, bell peppers etc, then adding the soaked and drained rice, can be cooked for 2 whistles.
* Basmati rice can be used too.
* Also, some chopped paneer pieces add to the taste


Friday, April 3, 2020

Earlier I used to keep an inner vessel in Pressure Cooker, and cook for pongals.
recently I have found out a very very easy fail proof method....
Nothing sticks to the cooker....
Nothing oozes out of the Cooker....
Similar way, we can cook for dhals too.

                                                         Ven Pongal & Chakkarai Pongal 


Here is the easy, quick way. After cooking the rice and dhal this way, you can proceed to make which ever pongal you want to.

METHOD

Soak the rice and dhal in hot water, for minimum 30 minutes, measurement is Rice - 1 cup; Moong dhal - 1/4 cup; Water - 4 cups(11/4x3=33/4 +1/4 cup)


Keep it on stove, let it come to a boil.


Immediately, flames to the lowest, put the weight on


Set your timer for 10 minutes. 2 whistles might come.


Switch off, let the pressure release by itself, taking its time, then open, this is how it will look


See! Nothing sticking to the bottom! Nothing burnt!


Add milk and hot water to the required consistency, mashing the rice-dhal mixture nicely.


Thats it!

Make pongal the simplest way, and enjoy!!!


For dhal fry, or any other dhal too, you can cook the same way!


This post first appeared in www.malpatskitchen.com

12:00:00 AM Mala Thiagu
Earlier I used to keep an inner vessel in Pressure Cooker, and cook for pongals.
recently I have found out a very very easy fail proof method....
Nothing sticks to the cooker....
Nothing oozes out of the Cooker....
Similar way, we can cook for dhals too.

                                                         Ven Pongal & Chakkarai Pongal 


Here is the easy, quick way. After cooking the rice and dhal this way, you can proceed to make which ever pongal you want to.

METHOD

Soak the rice and dhal in hot water, for minimum 30 minutes, measurement is Rice - 1 cup; Moong dhal - 1/4 cup; Water - 4 cups(11/4x3=33/4 +1/4 cup)


Keep it on stove, let it come to a boil.


Immediately, flames to the lowest, put the weight on


Set your timer for 10 minutes. 2 whistles might come.


Switch off, let the pressure release by itself, taking its time, then open, this is how it will look


See! Nothing sticking to the bottom! Nothing burnt!


Add milk and hot water to the required consistency, mashing the rice-dhal mixture nicely.


Thats it!

Make pongal the simplest way, and enjoy!!!


For dhal fry, or any other dhal too, you can cook the same way!


This post first appeared in www.malpatskitchen.com